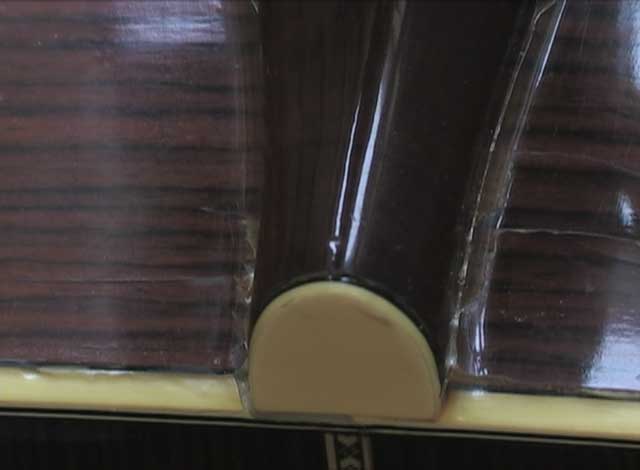
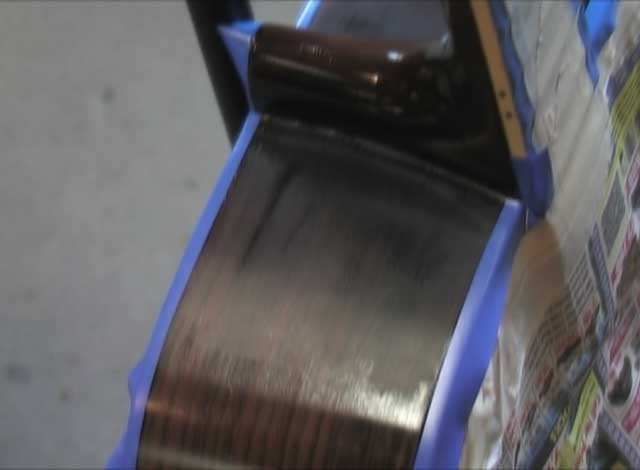
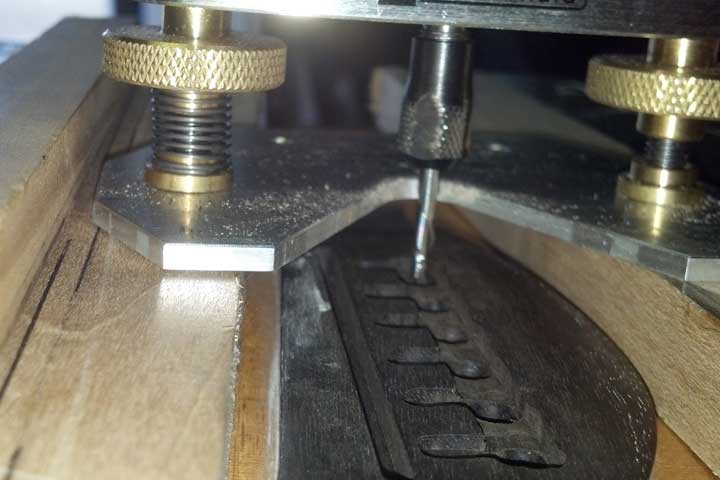
- Stage 1
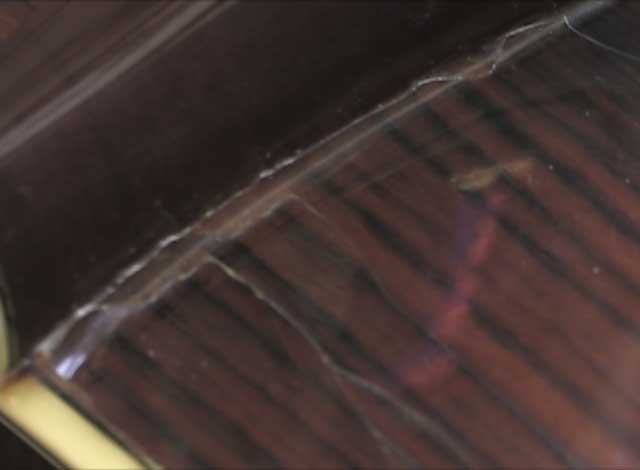
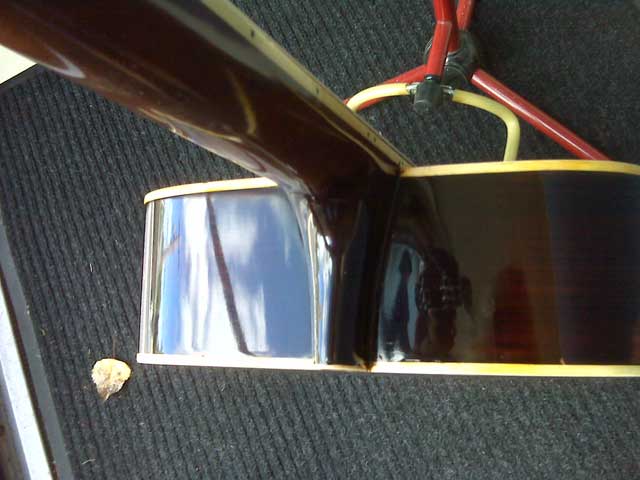
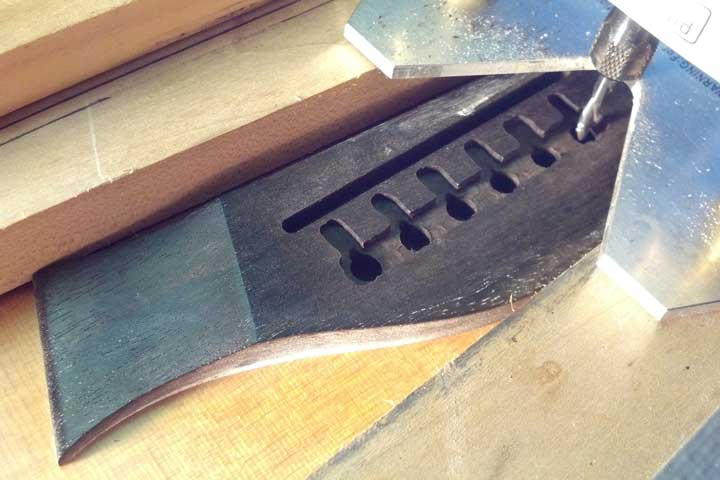
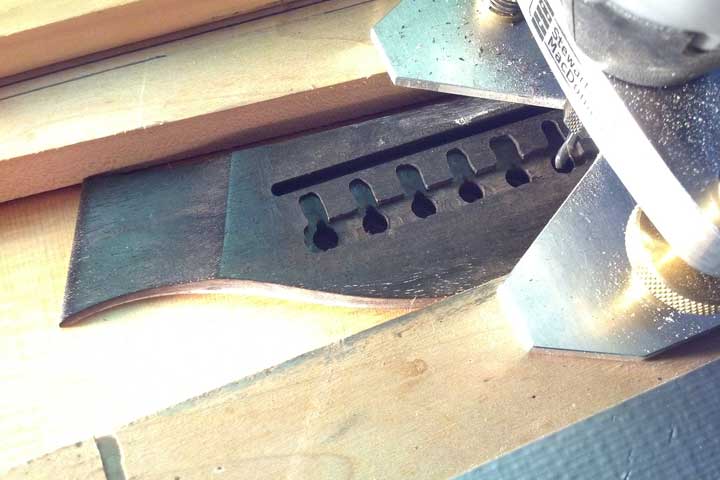
- Stage 2
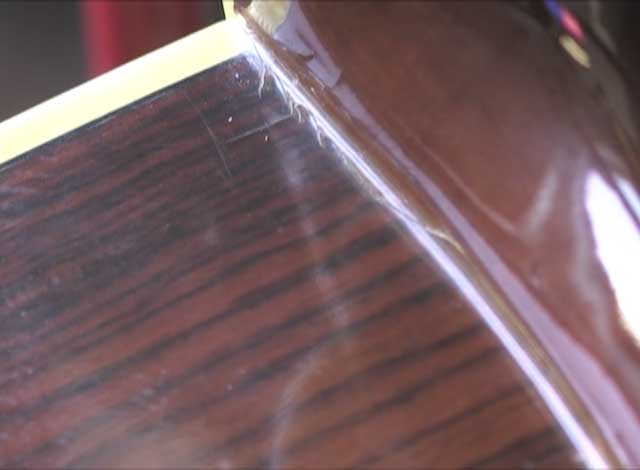
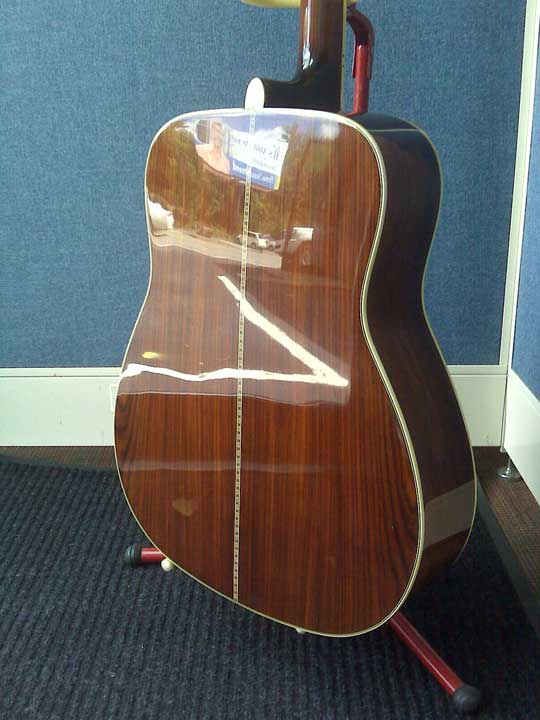
- Stage 3
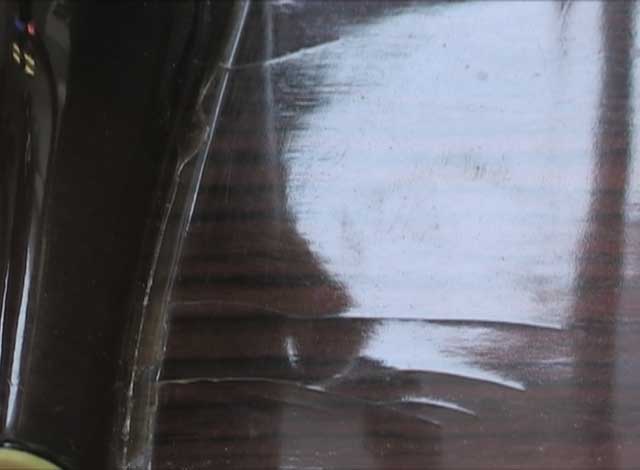
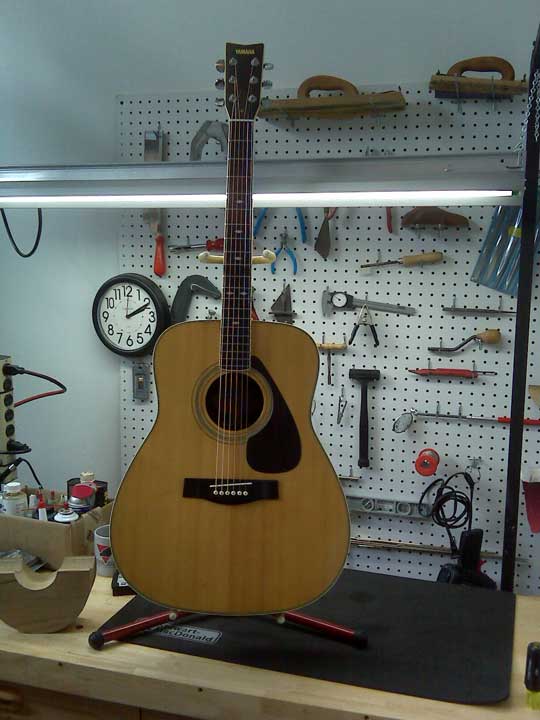
- Stage 4


- Stage 1
- Stage 2
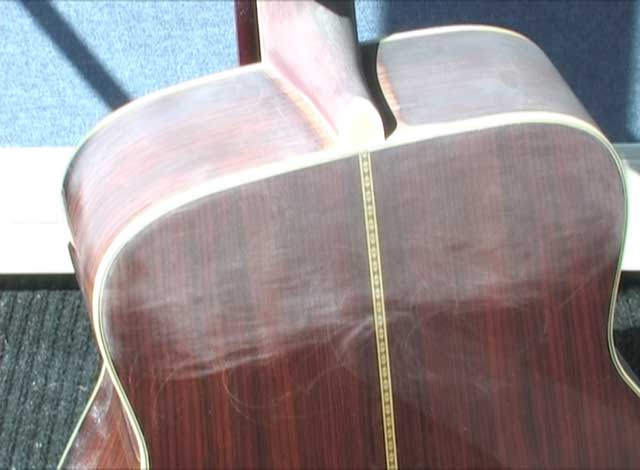
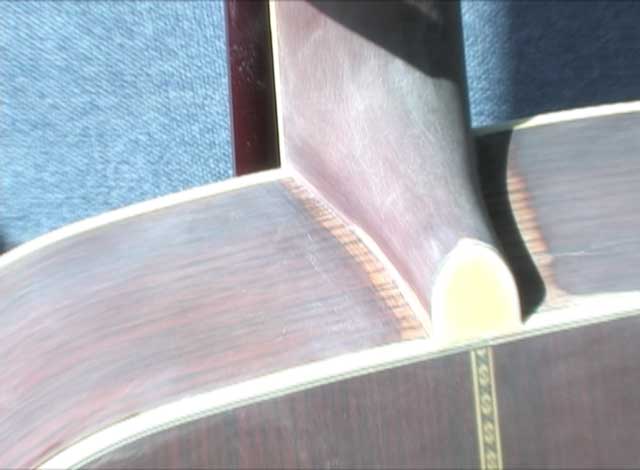
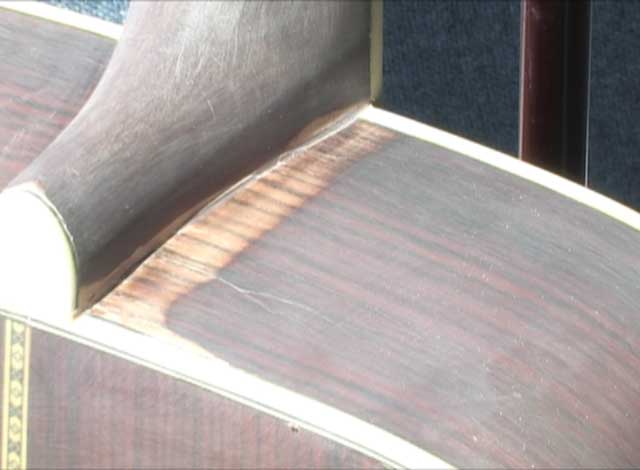
The owner of this Yamaha FG 345, Hugh Anthony, brought this guitar in to me for a major neck fracture after his brother fell on the guitar. It was his dad’s and he wanted to pass it on to his son. I went to work examining the guitar very closely and found the finish was severely cracked and the wood on the sides and neck joint were cracked as well. When Hugh picked up this guitar in less than 30 days he was speechless. He said to his wife, “Ricki Leigh did a fantastic job! Look at how she blended the stain and how shiny the clear coat is! You can’t find any evidence of damage to the guitar. It looks amazing! Ricki Leigh did a great job and very reasonable price for the quality work in refinishing.
Stage 1: Fractures in the finish and wood.
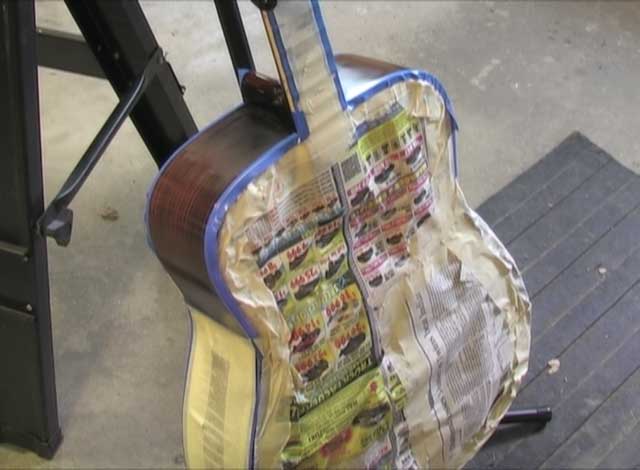
Stage 2: Guitar sanded and ready to be glued.
Stage 3: The guitar has been stained and feather edged. Now it is masked and ready to be clear coated with nitrocellulose lacquer.
Stage 4: Guitar buffed, rubbed out and polished.
Here is a Gibson Epiphone PR 350 SN that Edward Johns brought to me after he purchased it on ebay. Ed has brought me a dozen guitars in the last year to set up and recondition.
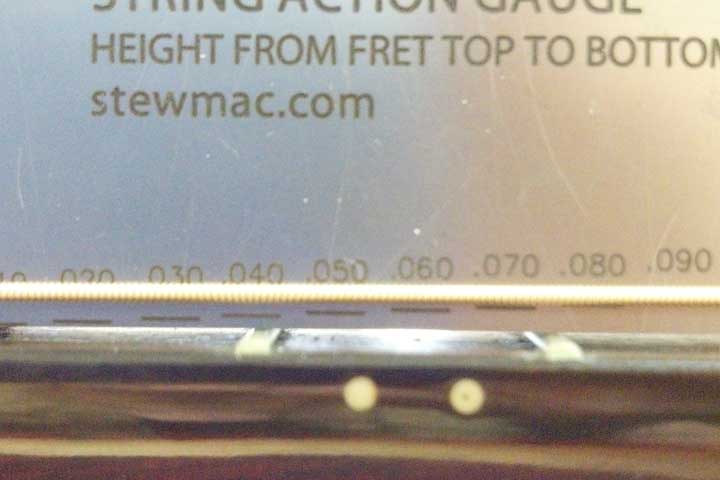
The Action was over the top and I mean over the top. It reads higher than my gauge can go and it goes to .140 so I estimate it was .155 at the 12th fret. My job was to lower to around .070.
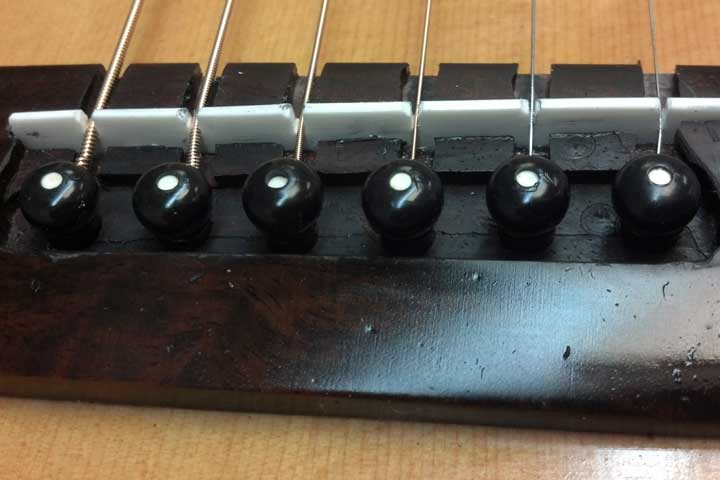
Stage 1: Even though the bridge is too tall there wasn’t enough wood on the wings to take the bridge off and sand it down from the bottom to get the action low enough which is the standard method. I came up with a solution of routing the bridge down from the top. The important thing is to keep structural strength in the bridge and for the saddle.
Stage 2: Once I smoothed off the rough edges, I restained the fresh cut rosewood to match the aged rosewood and conditioned the bridge about 3 times to get it stable from taking on too much moisture. Once the guitar was strung up I was able to cut the saddle to the proper height.
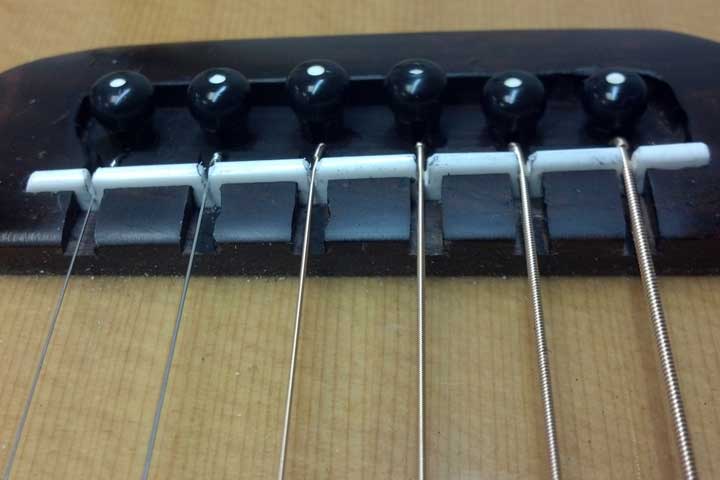
This guitar was only good for a slide player with string height at about .155 – far too high to play for anybody. But now it has a custom string height that plays like a dream at .075 on 12th fret low E and .070 on the high E. Factory spec is .090 on Low E and .075 on the high E.
Need Lower action on your acoustic? Most guitars may be able to have just the saddle lowered and that is well under fifty dollars. But if the bridge is too high I can do what I did to Ed John’s guitar with my new method for half of what it would cost to remove the bridge and sand it down.
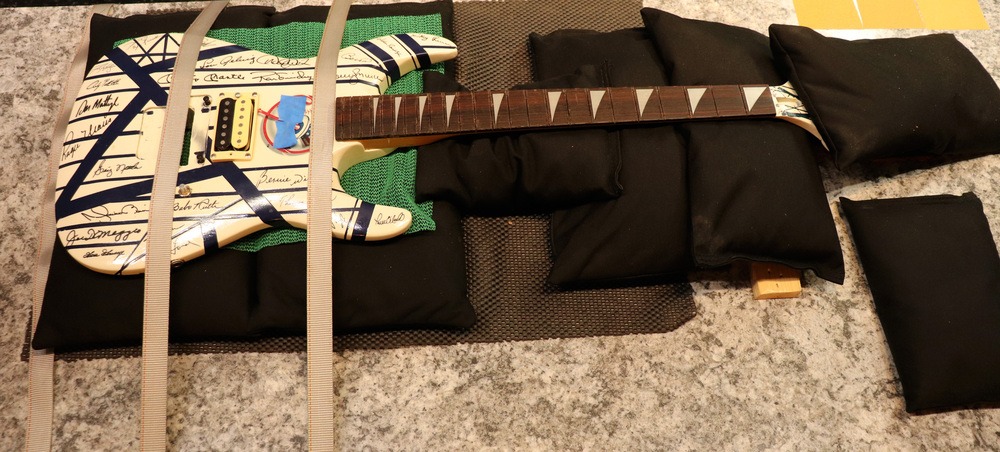
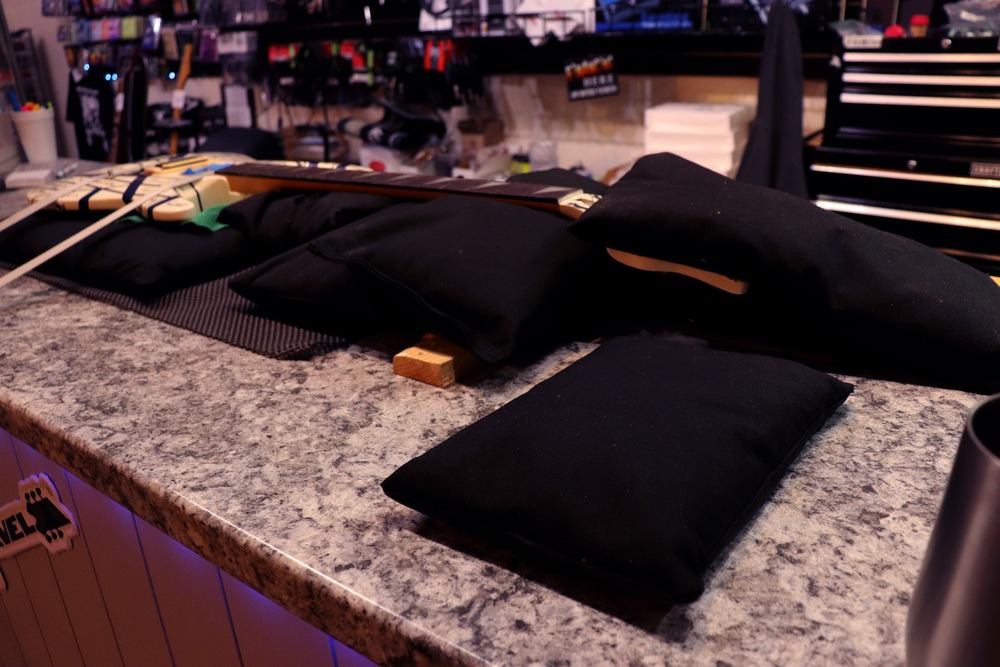
Here is a refret the customer Dana brought the guitar in he ripped the frets out with home tools not Guitar Tools. He Gouged up the fretboard then brought it to me for cleaning up board and instlling new frets. We Plained the FretBoard to a 16 Faltter Radius. and We used Sandbags to put body on. Level the bag then put body on and relevel body, then bags are inserted under the neckthe neck is comperssed into sandbags. I Then Loosen the truss rod and add smaller sand bags to head stock to recreate string tension. I Then adjust the truss rod to straight and plain the neck to 16 Radius. Next we install Jumbo Frets pre-arched to 16 radius. After all frets inatalled they are cut flush to fretboard filed and Dressed on the ends for a smooth feel. Any Loose or hi frets are pulled and new fret is cut and glued and clamped for 2 hrs. Once all frets are in then Strings get put on and Truss Rod is adjusted for best relief.If any fret is off at that point it is corrected easally.